May
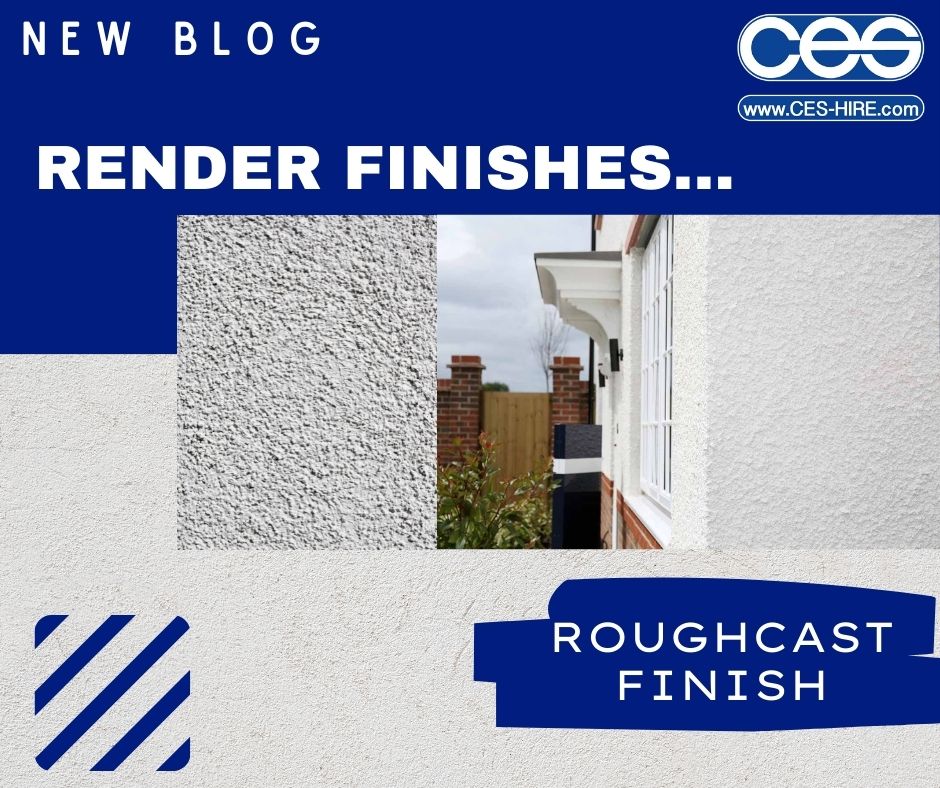
When considering rendering your home, it is important to be sympathetic to the period of the home. Whilst a stark and crisp scraped render is very popular, it may not suit that 1930’s semi. In this article we talk about the traditional method of roughcast render.

What is Roughcast Render?
 Roughcast render is a traditional textured render which can sometimes be called ‘wet-dash’ or ‘harling’ (if you’re Scottish). It has a coarse finish due to aggregate added to its typical mix of lime, sand, cement and water. Since it is not a pre-mixed material, you have more control and choice over the final finish as you are able to select your own unique blend of pebbles/shells/stones (the Tudors even used coloured glass!). A 6-8mm aggregate is recommended for Roughcast render and certainly no larger than 10mm. If your aggregate is too large is can cause sagging during the drying process, plus the larger the stones the more exhausting the work if you are hand applying. Unlike, pebbledash, with roughcast the stones/gravel is premixed prior to application.
Where have I seen Roughcast Render?
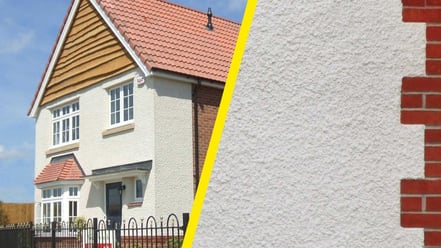
 Roughcast render complements older style properties and is probably even older than you think dating back to the Roman period and historically very popular for rural buildings. However, the UK saw an influx of this textured render around the 1930s. During post-war Britain there was a housing boom with houses being built rapidly by poorly-skilled brickies. As a solution to these badly finished homes, roughcast render was applied to cover a multitude of brickwork sin! I’m sure you can picture a row of those post-war terraces or semis smothered in a rather dull porridge-like render!
How is it different to Pebbledash and Tyrolean?
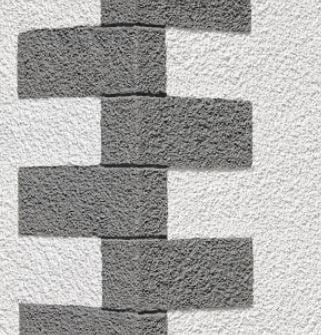
Roughcast is similar though not to be confused with pebbledash. Pebbledash has a much harsher appearance with the desired aggregate (stone, pebble, gravel) thrown at a freshly rendered wall so the colour of the aggregate is visible. However, roughcast creates a softer appearance since the aggregate is premixed prior to application so the stones are covered in the mortar mix.
When it comes to Tyrolean render, though this finish also has a textured appearance, the texture comes from the silicone/plastic particles which come as a premixed render.
What are the benefits of Roughcast Render?
This type of render will of course have the same advantages as render more broadly in that hides features/brickwork that are not so attractive, it insulates your home more effectively, it creates a waterproof/fireproof coating and it can alter the colour of your home giving it the quickest kind of external facelift (read more about the benefits here). The biggest advantage when it comes to roughcast render is the weatherproofing qualities it provides. Due to the heavy texture of the render, it aids moisture absorption and evaporation so it is an ideal coating in exposed or coastal areas. This material is also less prone to shrinkage whilst curing.
Choosing products for Roughcast Render
You will need to select cement, stone/gravel and sand to create your roughcast mix. When it comes to cement, general purpose cement may do the job for the first coat, however white cement can be a great and more attraction option for the finishing coat. It is important to carefully measure your area for the purchase of your stone/gravel. We suggest one 25kg bag will cover 2-3m² (depending on the aggregate size though a standard size is 6-8mm). Since the stones will be covered in cement mix, there is no need to mix them separately just ensure they are protected from soil/fallen leaves so the mix does not become contaminated. Finally, you will need to choose your sand. Sharp sand is preferable to building sand as it resists moisture and bonds the entire mixture more effectively.
Modern Roughcast
 If you were roughcast rendering from scratch and not matching a traditional roughcast render, there are modern methods from achieving the textured look. These techniques involve using premixed roughcast renders such as K-Rend Silicone Roughcast. This render still boasts the water-repellent qualities of traditional roughcast but has the benefit of being premixed and ready to go as well as being available in a range of colours. Weber also have some great advice available for using their products such as Weber Pral M to achieve the roughcast appearance with a modern textured method (above image courtesy of Weber).
How do I apply Traditional Roughcast Render?
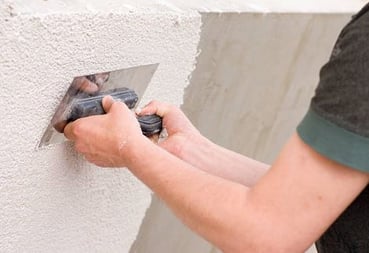 Roughcast render can be machine or hand applied. As with any application, the surface should be clean and free from dust, moss and loose brickwork/mortar. Any repairs should also be completed. When mixing your products, you MUST use clean water. You may also opt to add in a waterproofer to prevent rain penetration damaging brickwork and a plasticiser added will create a smoother cement and allow more time to work with the mix before it dries. The basecoat will need to be applied first (2 parts cement, 1 part lime, 4 parts sand, mixed with clean water). Dampen the surface prior to applying the basecoat to stop the wall absorbing the water in the mix and drying it out too quickly consequently weakening the bond which can lead to the render cracking, loosening and falling away. Once you have applied the basecoat, scratch it to form key for the next coat to adhere to and allow sufficient drying time. Your roughcast coat will be made up of 1 part cement to 2 parts sand mixed with clean water followed by 4-5 parts stone/gravel aggregate (remember these quantities are a guide). A standard aggregate is 6-8mm but if you were using a smaller aggregate size we would advise you to increase the ratio. Spray your roughcast on evenly keeping parallel to the wall at all times (remember to practise on a scrap if you are beginner). Drying time will vary according to the weather through do remember if it is a hot day, you may need to dampen the applied mixture to allow it to dry more gradually and prevent cracking.
How do I remove or elevate Roughcast Render?
Roughcast was popular almost a century ago so often homeowners are looking to reduce the texture of their roughcast property. Ideally the best solution is to remove the existing render and start from scratch because adding further render on top of the current material will increase the weight and strain on the original structure of the house and could lead to further structural complications. When you bear in mind that the roughcast render was probably applied to disguise bad brickwork, it is really not advised to add more strain to this. The problem is you really can’t tell when state the bricks are in beneath that render. Equally hacking off the roughcast can also damage the underlying bricks as well as being time consuming, costly and hard work. Remember building regulations also state that if a quarter or more of your wall is removed you must upgrade your wall insulation.
However, if you are going to try to cover the roughcast instead of remove, firstly you’ll need to thoroughly investigate the existing render for example checking for sound adherence to the brick/blockwork, if not properly bonded it should be hacked off. You will also need to meticulously clean and prepare the wall to ensure a strong bond is formed. You will need to select a lightweight render to lessen the strain on the current render, companies such as Corksol offer a lightweight solution.
Lime-based roughcast is becoming a much rarer find and would perhaps feature on a historic house. In this case, you’d be advised to work with a conservator to restore this rare material. First of all, look into the reason for the materials decline (e.g. damp or exposure) to enable prevention in the future. If the roughcast sounds hollow it will not be keyed to the wall properly; it does not necessarily need replacing and a conservator could help you repair this.
Whilst this is perhaps a short-term solution, a simple paint could elevate your roughcast render by brightening the surface or completely changing the colour. When I say a ‘simple’ paint, it is simple compared to removal or coverage but due to the texture it can be more challenging to apply and we would encourage you to use a heavy-duty spray paint machine to help with coverage of the uneven surface.
Machines to apply Roughcast Render
 At CES we would highly recommend the Euromair Compact Pro 30 which will spray mortars and exterior renders. You can see this machine in action spraying Weber Pral M over on our YouTube channel. Browse our other render machines and render supplies on our website.
