Dec
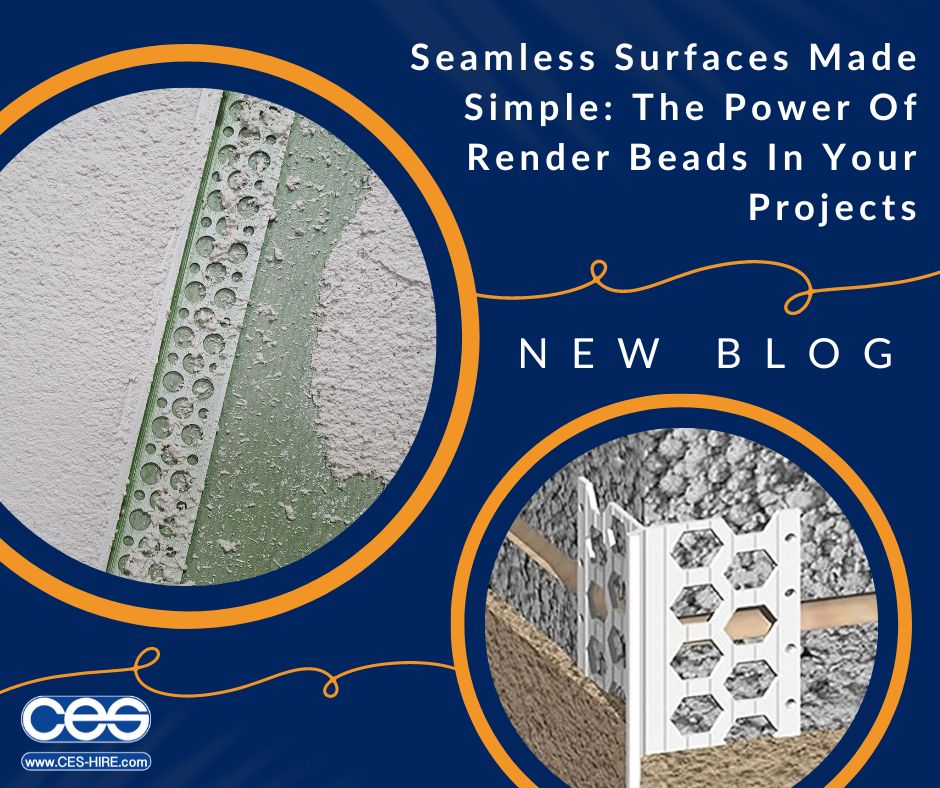
Render beads are an essential element in the rendering process. They reinforce your render system, protect edges, strengthen potential weak spots and prevent against water damage and cracking. There are various types of bead or trim that have different jobs within your render application. In this blog we'll explore the range of render beads, look at the benefits of render beads and give you guidance on how to install the beads.

What are render beads?
Render beads are a key part of professional render installation and essentially are vertical mouldings that support your render system. They come in long strips (usually 2.5 metres) and are therefore cut to size for your job. At CES we supply the PVC beads however you can also find metal versions.
Why use render beads?
Render beads are essential for strengthening and supporting your render as well as improving your overall wall finish and the durability of the render. Areas such as edges and reveals can be potential weak spots which are more easily damaged, therefore installing render beads will help to strengthen and protect these areas. Beads will also help protect against water damage, staining and cracking and generally give reinforcement and definition to your walls.
PVC or metal?
Plastic/PVC beads as well as being more cost effective also have many other benefits. Plastic is lightweight and easier and safer to work with. The plastic can be cut to size simply using tin snips and can be purchased in colours to match your render. Metal beads, whilst being a strong material can discolour and rust over time causing unsightly marks and damage to your render. Metal can also expand which may cause your render to crumble off.
Different types of render bead
Render beads have different purposes according to the area of the wall you're reinforcing. At CES we stock corner, stop, expansion and bell-cast beads in 10, 15 and 20mm widths.
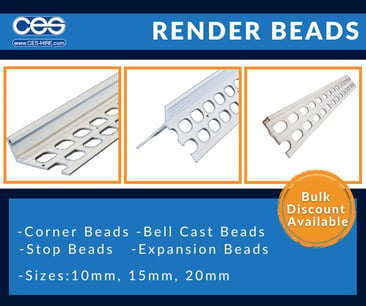
Corner beads
Corner beads, also known as angle or quoin beads, as the name suggests are used for corners. Corners are more exposed areas and can be susceptible to knocks . As a weaker area, they should be reinforced with a corner bead. This bead will not only provide strength but also eliminate the need to manually create a corner. The nose of the bead ensures a perfect 90° angle as well as a crisp line and sharp finish. You can buy corner beads without mesh for use with scratch render or with mesh for thin coat render application .
Stop Beads
A stop bead is applied at the edges of thin coat render for example besides windows, door frames, soffits or cladding. It protects the render against impacts as well as creating a clean edge. A stop bead can also be used to create a decorative feature panel.
Expansion Bead
Expansion beads or render movement beads are used on large expanses of render to break up long stretches of surface and provide additional strength and support. They are installed vertically and prevent cracking, chipping caused by thermal expansion and contraction. They also provide support where different substrates meet.
Bell-cast beads
Also known as drip beads, bell-cast beads are fixed within the basecoat and create an angled lip at the base of the wall. This allows water running down the walls to drip straight off. The lip diverts water away from the bottom of the render or wall preventing damp issues occurring or condensation build up.
How to install render beads
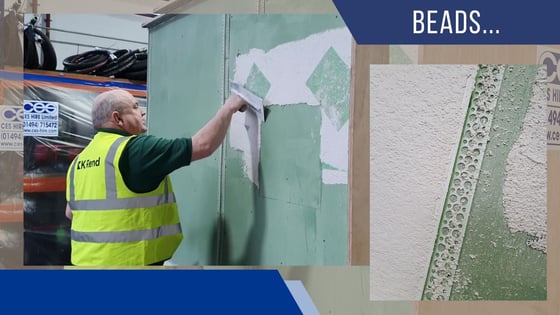
Before you begin the installation process, you must ensure your surface is clean, dry and debris free. The render beads will also need cutting to the desired length using tin snips. To apply the trims, you should place dabs of bead adhesive or basecoat render to the substrate around 300mm apart. The dabs of adhesive should be wide enough to spread across the width of the bead wing. Next press the bead firmly into the freshly applied dabs and then remove any excess render/bead adhesive with a trowel. Now you're ready to continue applying the render across your prepared surface.
