Nov
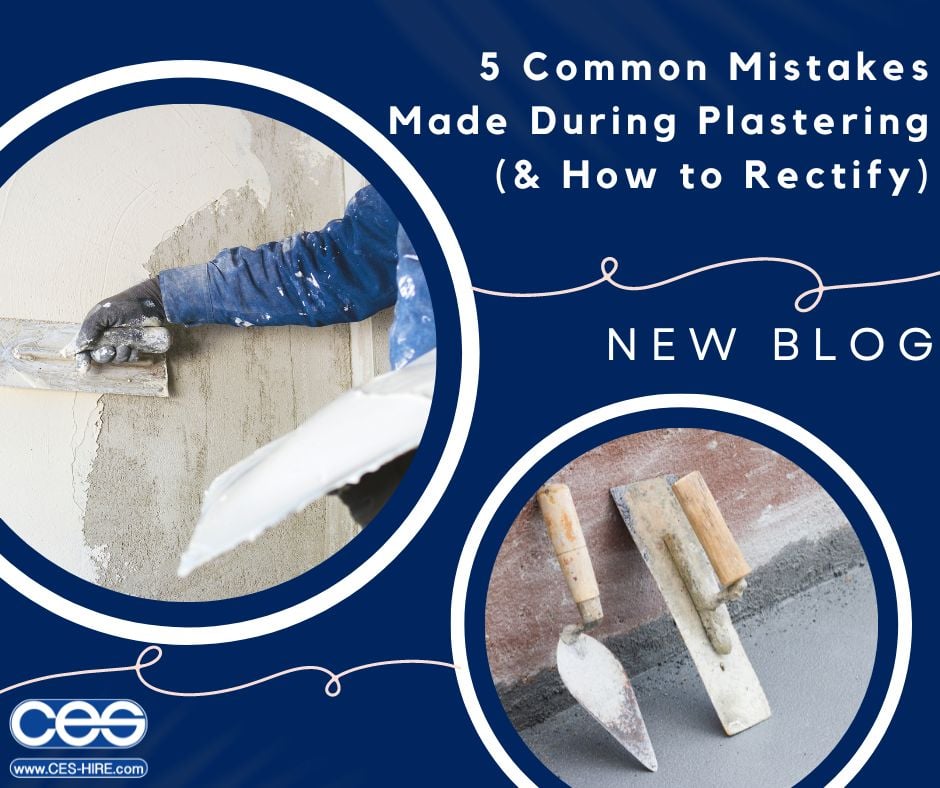
Plastering is a skill that takes years to perfect. Getting plastering right takes technical understanding and skill and is certainly not something that can be mastered from a YouTube tutorial. Plaster provides a protective coat for walls as well as a strong, smooth and durable base for a decorative finish. Whilst the process may look straight-forward, there are many mistakes that can be made, here we’ll explore those typical problems you may encounter.

Lack of Preparation
Preparation is absolutely crucial to ensure a flawless finish. A solid base is essential to be able to hold plaster securely. If you cut corners at this stage you will run into problems later. Damaged plaster should be removed using a chisel and rubber mallet. The process should be carried out with care since plaster can have a strong bond with the wall behind therefore chunks of bricks can end up being pulled down at the same time. Ideally begin chipping away in a small corner area, check the area beneath and if removal is trouble-free continue to patiently remove with a chisel. Make sure the area you are plastering is free from dirt, dust and debris, remove any loose paint and sand any rough areas. Sanding the area will also create a key to enable the plaster to bond to the wall. You should also always scrim tape areas with cracks and joints as well as fill any holes.
Incorrect Material & Consistency
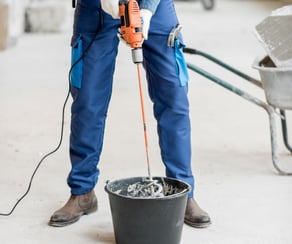 It is important to select the right material for your surface considering whether you need the plaster simply for decorative purposes or more practical purposes such as damp protection. Plaster also goes out of date and whilst it can be tempting to use up those two out-of-date bags that are lurking in the shed, it will cause you problems. Out-of-date plaster can often fool you by behaving whilst it is being applied however you will find it quickly becomes unworkable and dries to an awful finish and is impossible to rescue. New plaster should be fresh and pliable but needs to be mixed to the correct consistency. Not adding enough water will leave plaster too thick and challenging to work with. If you add too much water, your plaster will be thin and runny. Always add the water gradually to achieve the perfect mix. You should continue to mix for 2 minutes to ensure all the ingredients are combined and the plaster is lump-free.
Cheap Tools
You may think you can save money by choosing some bargain tools, however, this won’t benefit you in the long run. Always invest in the best quality tools you can which you will find are not only easier and more comfortable when using but also are robust enough to handle plaster and light enough to glide over the plaster and finish your wall. Take a look at this blog to find out our recommendation of the best tools for plastering > Most importantly, a plastering trowel is key to invest in as it is this that smooths the plaster over the wall. With both a plastering and finishing trowel it is important to apply the correct pressure. If you apply too firmly, you will find the plaster can crack and flake.
Rushing the Process
It is never a good move to try and slot in that extra job and squeeze more out of your day. This can lead to you rushing the job, further stress and a poor quality finish which can give your company a bad reputation. Time and patience is essential for achieving that flawless finish. Allowing the plaster to properly cure is vital, again, not something to be rushed. Plaster should be completely dry, which can take several weeks, before you apply a finish whether that be paint or wallpaper. If you don’t give the plaster a chance to cure, you may find the paint or wallpaper won’t adhere or it can bubble or peel.
Not Cleaning Tools
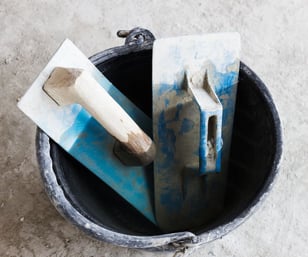
You’ve invested in the quality tools but if you don’t clean them thoroughly this can add to the list of plastering problems. Plaster is of course meant to dry to a hardened state to provide a strong and durable protective coating on the wall, however this is not something you would want drying on your tools. Whilst you may be exhausted after a long-day of plastering and it is tempting to leave the tools and pop your feet up, this is a plastering sin. Hardened plaster can make tools unusable or you’ll lose hours to scraping them clean. If you clean between sessions, your tools will last you longer, stay in tip-top condition and allow you to begin your next session immediately.
