Plastering
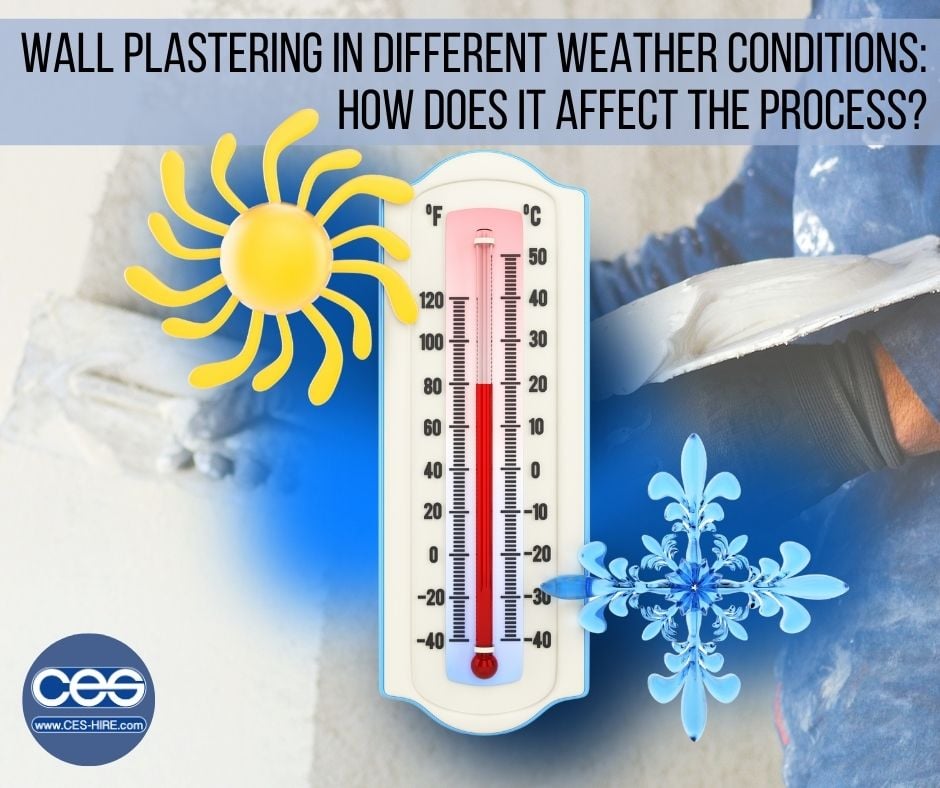
Wall Plastering in Different Weather Conditions: How does it affect the process?
The UK really does have to contend with a whole range of weather conditions. From frost, snow, rain, wind, sun and extremes in temperature, the UK really does experience it all. It is important to factor in the weather when plastering and that is not just during the application stage but also considering the curing/drying/hardening stage too. Much of the advice we will give you has a lot of overlap with rendering in various weather conditions so take a look back at our How Weather Affects Rendering blog for more information. Now let’s explore how to adapt your wall plastering for varying weather conditions.
Plastering in Cold Weather
 Guidance from both NHBC and the International Building Code for cement plastering states to avoid plastering in freezing conditions. NHBC explain that ‘rendering, plastering and screeding shall not be carried out in cold weather unless suitable precautions are taken.’ The International Building Code informs plasterers that ‘plaster coats shall be protected from freezing for a period of no less than 24 hours after initial set’. As set out by these professional bodies, plastering should not be carried out in extreme cold temperatures and should never be applied to a frozen substrate.. Frost can be particularly destructive to plaster causing it to freeze on the wall, weaken and fall off. Water is of course added to bagged plaster and since water freezes at 0°C, this causes problems. Water is mixed in the cement plaster in order to create a chemical reaction to enable the plaster to cure and harden. In colder temperatures this process is lengthened as the hydration of cement-based products is slower. This means the strength of the plaster can be compromised and fluctuations in temperature can cause movement in the substrate in turn creating cracks. It is advised to apply plaster above 4.4° C (40 °F) and to maintain a temperature above this for 48 hours after application.
If you decide to use warm air heaters to achieve a suitable plastering temperature, try and warm the room a day before starting (or longer the closer to ground level that you are). However be mindful not to create condensation/water vapour as this slows the drying time further. Make sure you ventilate the room to remove such moisture; moving cold air is better than stagnant air. Continue heating the room for 48 hours after application completion. A good tip is to store your tools in a warm place too. Ideally you should let plaster dry as naturally as possible to ensure the best strength. Keeping the windows ajar can help with this, however if they are too wide open and can expose the plaster to wind and rain this can have a negative impact. If it is a time of year that the heating is on, keep the heating on low (not above 17°C) so as to cure the plaster at the optimum speed. After 48 hours you can turn the heating up a little more. As well as being concerned over your plaster, make sure you are putting in precautions for yourself and dressing appropriately for the cold weather. Find out more about working in cold weather here >
Plastering in the Heat
 There are also plastering hazards when the weather is extremely hot or dry. There is no definitive maximum plastering temperature and internal plastering has the benefit of being less exposed to the elements and therefore a little more protected. However there are points to be aware of when plastering in hot weather. Curing/drying time will inevitably be reduced which can have an implication on the strength of the material and lead to cracking. If plaster dries too quickly it can be weak and have a powdery surface which is not a good base for a subsequent plaster layer or a decorative coat. One solution to slow down the curing time is to dampen the surface by ‘fogging’ with water during curing. It is also a good idea to apply plaster in smaller areas or do a test area to determine how long the material remains workable for. Avoid plastering in direct sunlight; this may mean starting work a little earlier when it is cooler. It is also worth keeping your tools out of direct sunlight. Whilst rooms should be ventilated to allow a natural curing process, avoid opening the windows too widely which will allow in more unwanted warm air. You should also be aware of the wall temperature since when the wall is warm it will draw moisture from the plaster and again lead to weakened plaster and cracking.
Other Plastering Problems
Issues that you may come across in plastering could include cracks which, as mentioned, can be a sign of the plaster drying too quickly or slowly. Hairline cracks that are less than 1mm aren’t a problem as they can be easily painted over or repaired with filler as it is a crack in the plaster, not the wall itself. You could also notice fresh plaster bubbling off the wall. This can be a sign of damp walls which may need damp-proofing to prevent this occurring again. However, it could also be a sign of excess condensation from not allowing sufficient ventilation.
Whatever the weather, always ensure you are using the best tools that your budget can stretch too. Further advice on our top plastering tool selection can be found here or equally head to the CES website to shop our plastering and rendering tools >


